Retail Analytics Project: Airflow Orchestration With Docker
Setting up Airflow to orchestrate data generation and upload to S3 Bucket

This is part of my Project 2: Retail Analytics series, where I will provide detailed breakdown of each components of my project. The project overview is available here.

Modern data pipelines demand robust orchestration. Without it, you're left manually triggering tasks, monitoring dependencies, and coordinating execution across multiple tools. Airflow eliminates this operational overhead by providing programmatic workflow management, dependency resolution, and execution monitoring—all through code. This post walks through setting up Airflow to orchestrate the retail analytics pipeline introduced in my previous article.
What is Airflow?
Apache Airflow is an open source Python based data orchestration tool that manages different components responsible for processing data in data pipelines. Airflow is used for:
Data Workflow Automation: Coordinates various tasks required to process data in pipeline from start to finish. Tasks can be defined in Airflow through DAG (Directed Acyclic Graph) which not only sets the functions to be executed, but also the order in which they need to be executed.
Monitoring and handling failures: Airflow provides a Web UI through for viewing the status on functions(DAGs) and results of DAG runs. We can also manually trigger DAG runs and see how the pipeline is executed. However, resetting the runs would involve using CLI (or deleting volume, in case of docker). If there were any function that had failed, Airflow can be configured to retry for a fixed number of times that is set by us.
Scheduling and Backfilling: Airflow enables scheduling of pipeline to be run at certain time or after satisfying certain conditions. You can also ‘backfill’ your data by scheduling for pipelines to be run in the past i.e data that occurs in the past.
Setting up Airflow
This setup requires that you know Docker. You can refer to my 3 part primer on Docker here, here and here. I am also assuming that you have set up AWS and AWS CLI in you source code editor. You can refer here for setting up AWS and AWS in VSCode.
For my project, I will be setting up Airflow locally first as development before deploying to cloud. I will be demonstrating one dag which generates retail data and uploads to S3. I have used the below resources as reference:-
Data Pipelines with Apache Airflow - BAS HARENSLAK AND JULIAN DE RUITER:- This book provides a great overview from setting up Airflow to creating DAGs for your workflow. Great book for beginners.
Airflow documentations: As for any data tool, their original documentation(link here) can never go wrong. Astronomer also provide great documentation for learning Airflow(link here)
We will start by with setting up Docker configurations for Airflow
Airflow Docker Setup
Create a ‘airflow’ folder and from that folder download the official docker compose file from the website, or execute the code below in you CLI.
curl -LfO 'https://airflow.apache.org/docs/apache-airflow/3.1.7/docker-compose.yaml'Create dags, logs, plugins, and config folders in your folder. This would serve as your folders in Airflow as well. Once you have downloaded the docker compose file, you will see the below.
# Licensed to the Apache Software Foundation (ASF) under one
# or more contributor license agreements.  See the NOTICE file
# distributed with this work for additional information
# regarding copyright ownership.  The ASF licenses this file
# to you under the Apache License, Version 2.0 (the
# "License"); you may not use this file except in compliance
# with the License.  You may obtain a copy of the License at
#
#   http://www.apache.org/licenses/LICENSE-2.0
#
# Unless required by applicable law or agreed to in writing,
# software distributed under the License is distributed on an
# "AS IS" BASIS, WITHOUT WARRANTIES OR CONDITIONS OF ANY
# KIND, either express or implied.  See the License for the
# specific language governing permissions and limitations
# under the License.
#

# Basic Airflow cluster configuration for CeleryExecutor with Redis and PostgreSQL.
#
# WARNING: This configuration is for local development. Do not use it in a production deployment.
#
# This configuration supports basic configuration using environment variables or an .env file
# The following variables are supported:
#
# AIRFLOW_IMAGE_NAME           - Docker image name used to run Airflow.
#                                Default: apache/airflow:3.1.7
# AIRFLOW_UID                  - User ID in Airflow containers
#                                Default: 50000
# AIRFLOW_PROJ_DIR             - Base path to which all the files will be volumed.
#                                Default: .
# Those configurations are useful mostly in case of standalone testing/running Airflow in test/try-out mode
#
# _AIRFLOW_WWW_USER_USERNAME   - Username for the administrator account (if requested).
#                                Default: airflow
# _AIRFLOW_WWW_USER_PASSWORD   - Password for the administrator account (if requested).
#                                Default: airflow
# _PIP_ADDITIONAL_REQUIREMENTS - Additional PIP requirements to add when starting all containers.
#                                Use this option ONLY for quick checks. Installing requirements at container
#                                startup is done EVERY TIME the service is started.
#                                A better way is to build a custom image or extend the official image
#                                as described in https://airflow.apache.org/docs/docker-stack/build.html.
#                                Default: ''
#
# Feel free to modify this file to suit your needs.
---
x-airflow-common:
  &airflow-common
  # In order to add custom dependencies or upgrade provider distributions you can use your extended image.
  # Comment the image line, place your Dockerfile in the directory where you placed the docker-compose.yaml
  # and uncomment the "build" line below, Then run `docker-compose build` to build the images.
  image: ${AIRFLOW_IMAGE_NAME:-apache/airflow:3.1.7}
  # build: .
  env_file:
    - ${ENV_FILE_PATH:-.env}
  environment:
    &airflow-common-env
    AIRFLOW__CORE__EXECUTOR: CeleryExecutor
    AIRFLOW__CORE__AUTH_MANAGER: airflow.providers.fab.auth_manager.fab_auth_manager.FabAuthManager
    AIRFLOW__DATABASE__SQL_ALCHEMY_CONN: postgresql+psycopg2://airflow:airflow@postgres/airflow
    AIRFLOW__CELERY__RESULT_BACKEND: db+postgresql://airflow:airflow@postgres/airflow
    AIRFLOW__CELERY__BROKER_URL: redis://:@redis:6379/0
    AIRFLOW__CORE__FERNET_KEY: ''
    AIRFLOW__CORE__DAGS_ARE_PAUSED_AT_CREATION: 'true'
    AIRFLOW__CORE__LOAD_EXAMPLES: 'true'
    AIRFLOW__CORE__EXECUTION_API_SERVER_URL: 'http://airflow-apiserver:8080/execution/'
    # yamllint disable rule:line-length
    # Use simple http server on scheduler for health checks
    # See https://airflow.apache.org/docs/apache-airflow/stable/administration-and-deployment/logging-monitoring/check-health.html#scheduler-health-check-server
    # yamllint enable rule:line-length
    AIRFLOW__SCHEDULER__ENABLE_HEALTH_CHECK: 'true'
    # WARNING: Use _PIP_ADDITIONAL_REQUIREMENTS option ONLY for a quick checks
    # for other purpose (development, test and especially production usage) build/extend Airflow image.
    _PIP_ADDITIONAL_REQUIREMENTS: ${_PIP_ADDITIONAL_REQUIREMENTS:-}
    # The following line can be used to set a custom config file, stored in the local config folder
    AIRFLOW_CONFIG: '/opt/airflow/config/airflow.cfg'
  volumes:
    - ${AIRFLOW_PROJ_DIR:-.}/dags:/opt/airflow/dags
    - ${AIRFLOW_PROJ_DIR:-.}/logs:/opt/airflow/logs
    - ${AIRFLOW_PROJ_DIR:-.}/config:/opt/airflow/config
    - ${AIRFLOW_PROJ_DIR:-.}/plugins:/opt/airflow/plugins
  user: "${AIRFLOW_UID:-50000}:0"
  depends_on:
    &airflow-common-depends-on
    redis:
      condition: service_healthy
    postgres:
      condition: service_healthy

services:
  postgres:
    image: postgres:16
    environment:
      POSTGRES_USER: airflow
      POSTGRES_PASSWORD: airflow
      POSTGRES_DB: airflow
    volumes:
      - postgres-db-volume:/var/lib/postgresql/data
    healthcheck:
      test: ["CMD", "pg_isready", "-U", "airflow"]
      interval: 10s
      retries: 5
      start_period: 5s
    restart: always

  redis:
    # Redis is limited to 7.2-bookworm due to licencing change
    # https://redis.io/blog/redis-adopts-dual-source-available-licensing/
    image: redis:7.2-bookworm
    expose:
      - 6379
    healthcheck:
      test: ["CMD", "redis-cli", "ping"]
      interval: 10s
      timeout: 30s
      retries: 50
      start_period: 30s
    restart: always

  airflow-apiserver:
    <<: *airflow-common
    command: api-server
    ports:
      - "8080:8080"
    healthcheck:
      test: ["CMD", "curl", "--fail", "http://localhost:8080/api/v2/version"]
      interval: 30s
      timeout: 10s
      retries: 5
      start_period: 30s
    restart: always
    depends_on:
      <<: *airflow-common-depends-on
      airflow-init:
        condition: service_completed_successfully

  airflow-scheduler:
    <<: *airflow-common
    command: scheduler
    healthcheck:
      test: ["CMD", "curl", "--fail", "http://localhost:8974/health"]
      interval: 30s
      timeout: 10s
      retries: 5
      start_period: 30s
    restart: always
    depends_on:
      <<: *airflow-common-depends-on
      airflow-init:
        condition: service_completed_successfully

  airflow-dag-processor:
    <<: *airflow-common
    command: dag-processor
    healthcheck:
      test: ["CMD-SHELL", 'airflow jobs check --job-type DagProcessorJob --hostname "$${HOSTNAME}"']
      interval: 30s
      timeout: 10s
      retries: 5
      start_period: 30s
    restart: always
    depends_on:
      <<: *airflow-common-depends-on
      airflow-init:
        condition: service_completed_successfully

  airflow-worker:
    <<: *airflow-common
    command: celery worker
    healthcheck:
      # yamllint disable rule:line-length
      test:
        - "CMD-SHELL"
        - 'celery --app airflow.providers.celery.executors.celery_executor.app inspect ping -d "celery@$${HOSTNAME}" || celery --app airflow.executors.celery_executor.app inspect ping -d "celery@$${HOSTNAME}"'
      interval: 30s
      timeout: 10s
      retries: 5
      start_period: 30s
    environment:
      <<: *airflow-common-env
      # Required to handle warm shutdown of the celery workers properly
      # See https://airflow.apache.org/docs/docker-stack/entrypoint.html#signal-propagation
      DUMB_INIT_SETSID: "0"
    restart: always
    depends_on:
      <<: *airflow-common-depends-on
      airflow-apiserver:
        condition: service_healthy
      airflow-init:
        condition: service_completed_successfully

  airflow-triggerer:
    <<: *airflow-common
    command: triggerer
    healthcheck:
      test: ["CMD-SHELL", 'airflow jobs check --job-type TriggererJob --hostname "$${HOSTNAME}"']
      interval: 30s
      timeout: 10s
      retries: 5
      start_period: 30s
    restart: always
    depends_on:
      <<: *airflow-common-depends-on
      airflow-init:
        condition: service_completed_successfully

  airflow-init:
    <<: *airflow-common
    entrypoint: /bin/bash
    # yamllint disable rule:line-length
    command:
      - -c
      - |
        if [[ -z "${AIRFLOW_UID}" ]]; then
          echo
          echo -e "\033[1;33mWARNING!!!: AIRFLOW_UID not set!\e[0m"
          echo "If you are on Linux, you SHOULD follow the instructions below to set "
          echo "AIRFLOW_UID environment variable, otherwise files will be owned by root."
          echo "For other operating systems you can get rid of the warning with manually created .env file:"
          echo "    See: https://airflow.apache.org/docs/apache-airflow/stable/howto/docker-compose/index.html#setting-the-right-airflow-user"
          echo
          export AIRFLOW_UID=$$(id -u)
        fi
        one_meg=1048576
        mem_available=$$(($$(getconf _PHYS_PAGES) * $$(getconf PAGE_SIZE) / one_meg))
        cpus_available=$$(grep -cE 'cpu[0-9]+' /proc/stat)
        disk_available=$$(df / | tail -1 | awk '{print $$4}')
        warning_resources="false"
        if (( mem_available < 4000 )) ; then
          echo
          echo -e "\033[1;33mWARNING!!!: Not enough memory available for Docker.\e[0m"
          echo "At least 4GB of memory required. You have $$(numfmt --to iec $$((mem_available * one_meg)))"
          echo
          warning_resources="true"
        fi
        if (( cpus_available < 2 )); then
          echo
          echo -e "\033[1;33mWARNING!!!: Not enough CPUS available for Docker.\e[0m"
          echo "At least 2 CPUs recommended. You have $${cpus_available}"
          echo
          warning_resources="true"
        fi
        if (( disk_available < one_meg * 10 )); then
          echo
          echo -e "\033[1;33mWARNING!!!: Not enough Disk space available for Docker.\e[0m"
          echo "At least 10 GBs recommended. You have $$(numfmt --to iec $$((disk_available * 1024 )))"
          echo
          warning_resources="true"
        fi
        if [[ $${warning_resources} == "true" ]]; then
          echo
          echo -e "\033[1;33mWARNING!!!: You have not enough resources to run Airflow (see above)!\e[0m"
          echo "Please follow the instructions to increase amount of resources available:"
          echo "   https://airflow.apache.org/docs/apache-airflow/stable/howto/docker-compose/index.html#before-you-begin"
          echo
        fi
        echo
        echo "Creating missing opt dirs if missing:"
        echo
        mkdir -v -p /opt/airflow/{logs,dags,plugins,config}
        echo
        echo "Airflow version:"
        /entrypoint airflow version
        echo
        echo "Files in shared volumes:"
        echo
        ls -la /opt/airflow/{logs,dags,plugins,config}
        echo
        echo "Running airflow config list to create default config file if missing."
        echo
        /entrypoint airflow config list >/dev/null
        echo
        echo "Files in shared volumes:"
        echo
        ls -la /opt/airflow/{logs,dags,plugins,config}
        echo
        echo "Change ownership of files in /opt/airflow to ${AIRFLOW_UID}:0"
        echo
        chown -R "${AIRFLOW_UID}:0" /opt/airflow/
        echo
        echo "Change ownership of files in shared volumes to ${AIRFLOW_UID}:0"
        echo
        chown -v -R "${AIRFLOW_UID}:0" /opt/airflow/{logs,dags,plugins,config}
        echo
        echo "Files in shared volumes:"
        echo
        ls -la /opt/airflow/{logs,dags,plugins,config}

    # yamllint enable rule:line-length
    environment:
      <<: *airflow-common-env
      _AIRFLOW_DB_MIGRATE: 'true'
      _AIRFLOW_WWW_USER_CREATE: 'true'
      _AIRFLOW_WWW_USER_USERNAME: ${_AIRFLOW_WWW_USER_USERNAME:-airflow}
      _AIRFLOW_WWW_USER_PASSWORD: ${_AIRFLOW_WWW_USER_PASSWORD:-airflow}
      _PIP_ADDITIONAL_REQUIREMENTS: ''
    user: "0:0"

  airflow-cli:
    <<: *airflow-common
    profiles:
      - debug
    environment:
      <<: *airflow-common-env
      CONNECTION_CHECK_MAX_COUNT: "0"
    # Workaround for entrypoint issue. See: https://github.com/apache/airflow/issues/16252
    command:
      - bash
      - -c
      - airflow
    depends_on:
      <<: *airflow-common-depends-on

  # You can enable flower by adding "--profile flower" option e.g. docker-compose --profile flower up
  # or by explicitly targeted on the command line e.g. docker-compose up flower.
  # See: https://docs.docker.com/compose/profiles/
  flower:
    <<: *airflow-common
    command: celery flower
    profiles:
      - flower
    ports:
      - "5555:5555"
    healthcheck:
      test: ["CMD", "curl", "--fail", "http://localhost:5555/"]
      interval: 30s
      timeout: 10s
      retries: 5
      start_period: 30s
    restart: always
    depends_on:
      <<: *airflow-common-depends-on
      airflow-init:
        condition: service_completed_successfully

volumes:
  postgres-db-volume:
Do not worry about the lengthy file, our focus now is mainly on these few lines of code.
  image: ${AIRFLOW_IMAGE_NAME:-apache/airflow:3.1.7}
  # build: .
  env_file:
    - ${ENV_FILE_PATH:-.env}
  environment:
    &airflow-common-env
    AIRFLOW__CORE__EXECUTOR: CeleryExecutor
    AIRFLOW__CORE__AUTH_MANAGER: airflow.providers.fab.auth_manager.fab_auth_manager.FabAuthManager
    AIRFLOW__DATABASE__SQL_ALCHEMY_CONN: postgresql+psycopg2://airflow:airflow@postgres/airflow
    AIRFLOW__CELERY__RESULT_BACKEND: db+postgresql://airflow:airflow@postgres/airflow
    AIRFLOW__CELERY__BROKER_URL: redis://:@redis:6379/0
    AIRFLOW__CORE__FERNET_KEY: ''
    AIRFLOW__CORE__DAGS_ARE_PAUSED_AT_CREATION: 'true'
    AIRFLOW__CORE__LOAD_EXAMPLES: 'true'
    AIRFLOW__CORE__EXECUTION_API_SERVER_URL: 'http://airflow-apiserver:8080/execution/'
    # yamllint disable rule:line-length
    # Use simple http server on scheduler for health checks
    # See https://airflow.apache.org/docs/apache-airflow/stable/administration-and-deployment/logging-monitoring/check-health.html#scheduler-health-check-server
    # yamllint enable rule:line-length
    AIRFLOW__SCHEDULER__ENABLE_HEALTH_CHECK: 'true'
    # WARNING: Use _PIP_ADDITIONAL_REQUIREMENTS option ONLY for a quick checks
    # for other purpose (development, test and especially production usage) build/extend Airflow image.
    _PIP_ADDITIONAL_REQUIREMENTS: ${_PIP_ADDITIONAL_REQUIREMENTS:-}
    # The following line can be used to set a custom config file, stored in the local config folder
    AIRFLOW_CONFIG: '/opt/airflow/config/airflow.cfg'
  volumes:
    - ${AIRFLOW_PROJ_DIR:-.}/dags:/opt/airflow/dags
    - ${AIRFLOW_PROJ_DIR:-.}/logs:/opt/airflow/logs
    - ${AIRFLOW_PROJ_DIR:-.}/config:/opt/airflow/config
    - ${AIRFLOW_PROJ_DIR:-.}/plugins:/opt/airflow/plugins
  user: "${AIRFLOW_UID:-50000}:0"
We can run ‘docker compose up’ now because this is the full set up provided by Airflow. However, we will need to add more components to modify Airflow as per our requirements. We will start with requirements.txt file.
requirements.txt
apache-airflow-providers-amazon
dbt-core
dbt-duckdb
airflow-dbt-python
faker
pandas
loguru
I am installing all required components in advance. I will post on DBT later, I’ll just have it installed now. Do not worry, you can add more later and simply rebuild the docker image. Now on to the Dockerfile.
Dockerfile
FROM apache/airflow:3.1.6-python3.11
COPY requirements.txt /requirements.txt
RUN pip install --no-cache-dir -r /requirements.txt
I am sticking with apache/airflow:3.1.6-python3.11 because this python version was the least problematic while installing dbt. Change the configurations of the docker compose file to the below.
Comment out the image and uncomment build
# image: ${AIRFLOW_IMAGE_NAME:-apache/airflow:3.1.7}
  build: .
  env_file:
    - ${ENV_FILE_PATH:-.env}
Change the volumes to connect directly to your local folder. We will configure the environments in a .env file
volumes:
    - ${AIRFLOW_PROJ_DIR}/dags:/opt/airflow/dags
    - ${AIRFLOW_PROJ_DIR}/logs:/opt/airflow/logs
    - ${AIRFLOW_PROJ_DIR}/config:/opt/airflow/config
    - ${AIRFLOW_PROJ_DIR}/plugins:/opt/airflow/plugins
    - ${PROJECT_DBT_DIR}:/opt/airflow/dbt
    - ${PROJECT_SCRIPTS_DIR}:/opt/airflow/scripts
    - master-data-volume:/opt/airflow/master_data
volumes: postgres-db-volume: master-data-volume:Create a .env file and fill in the below:
.env
AIRFLOW_UID=50000
AWS_ACCESS_KEY_ID='your aws access key'
AWS_SECRET_ACCESS_KEY='your aws secret access key'
AIRFLOW_PROJ_DIR='project/folder/path'
PROJECT_DBT_DIR='project/dbt/folder/path'
PROJECT_SCRIPTS_DIR='project/scripts/folder/path'
Now we will create the image to be used with the docker compose.
Running Airflow Docker
Run docker-compose build in your CLI.
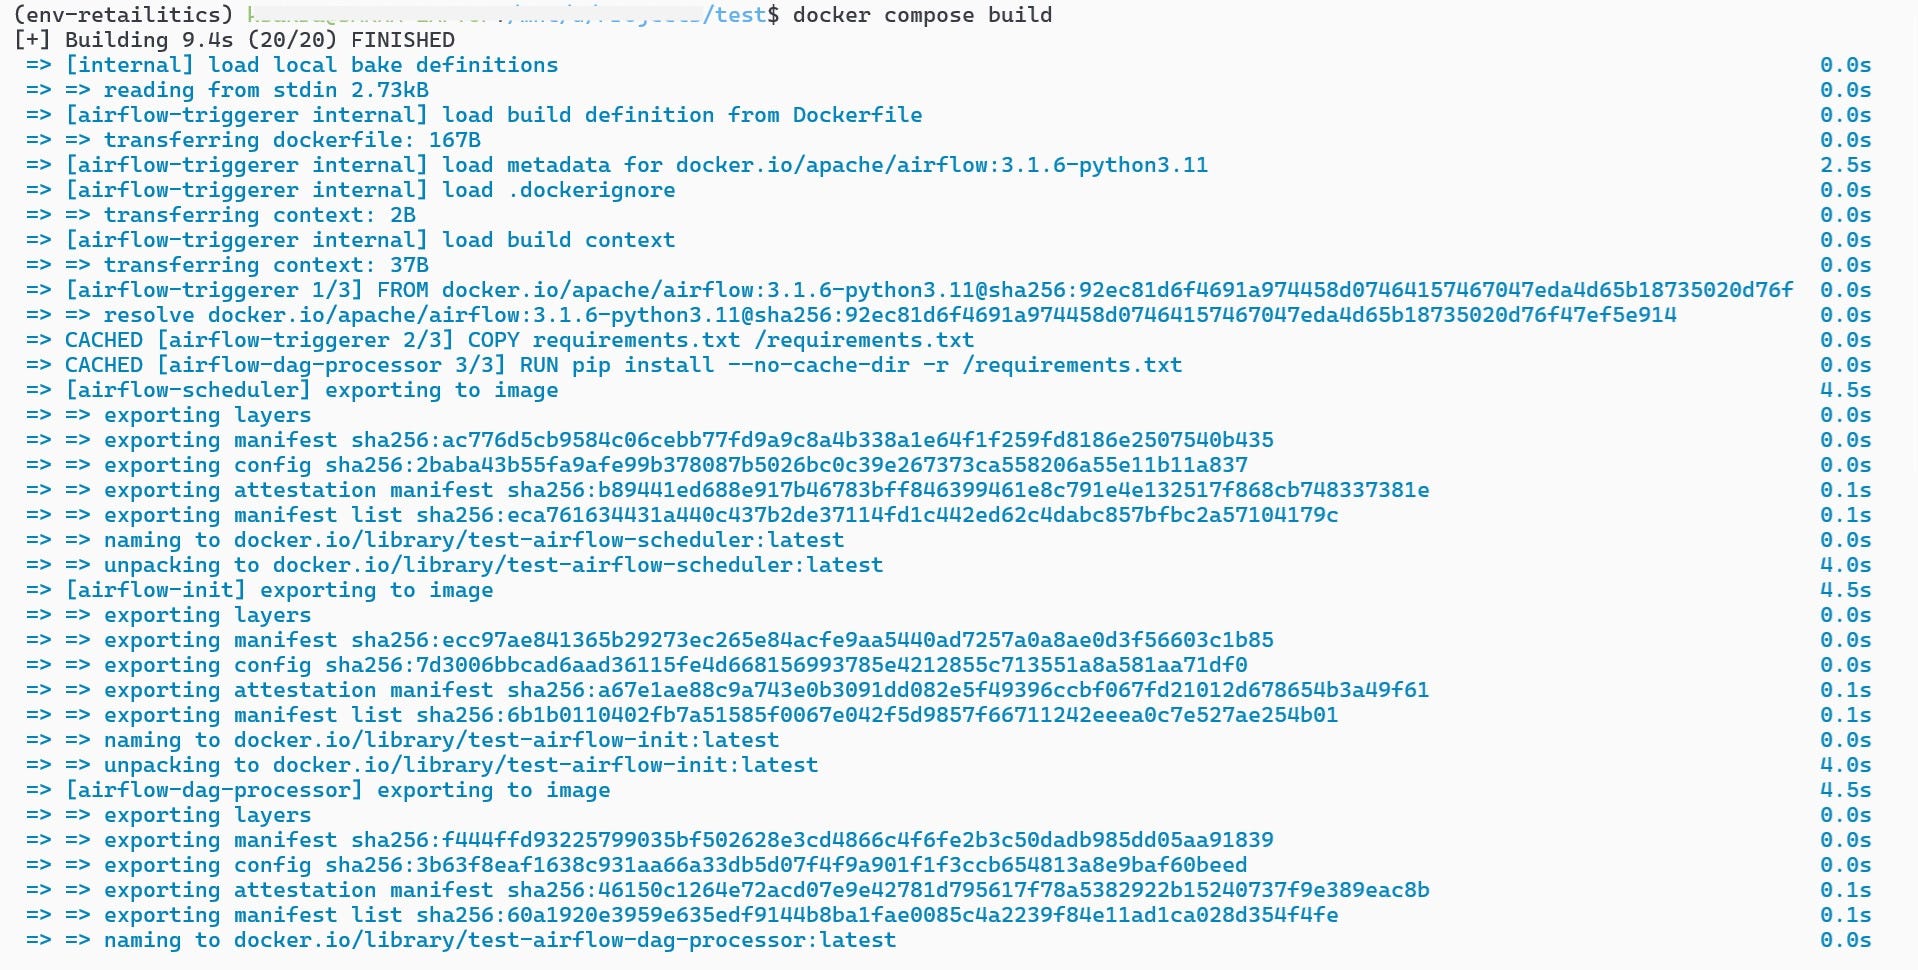
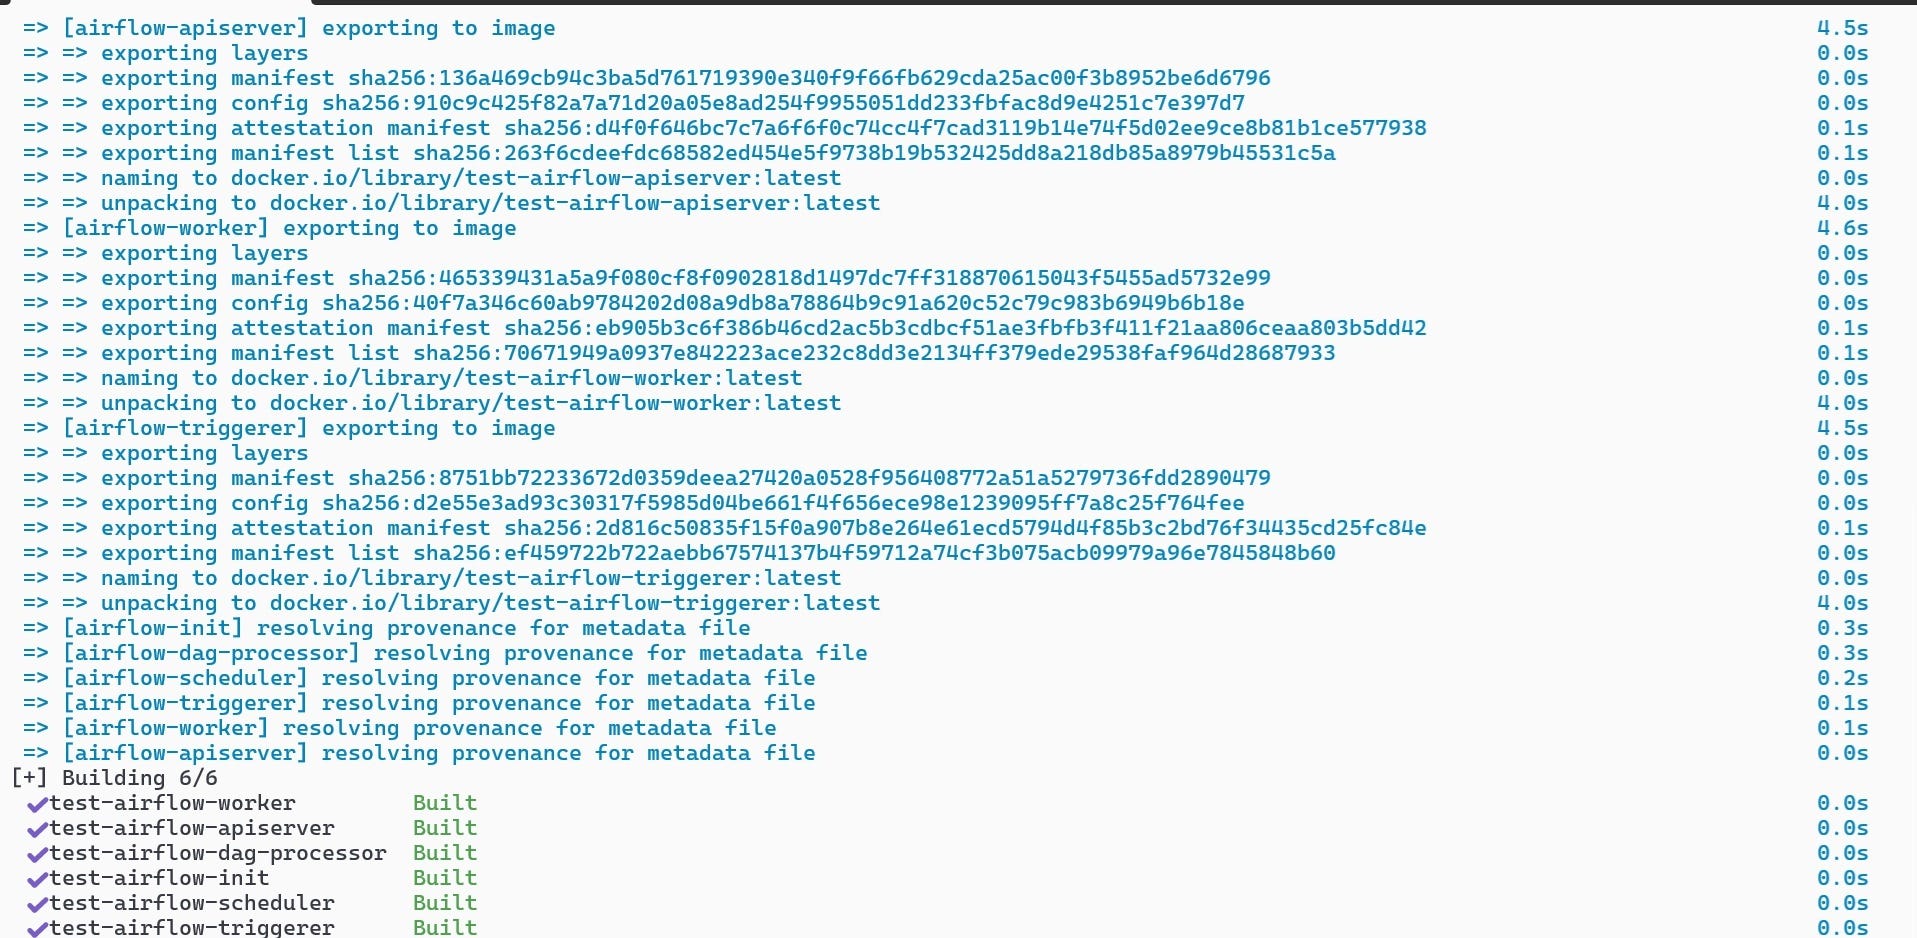
As you can see, it has built 6 images containing the Airflow components. You can then run the code as per the instructions from the Airflow site.
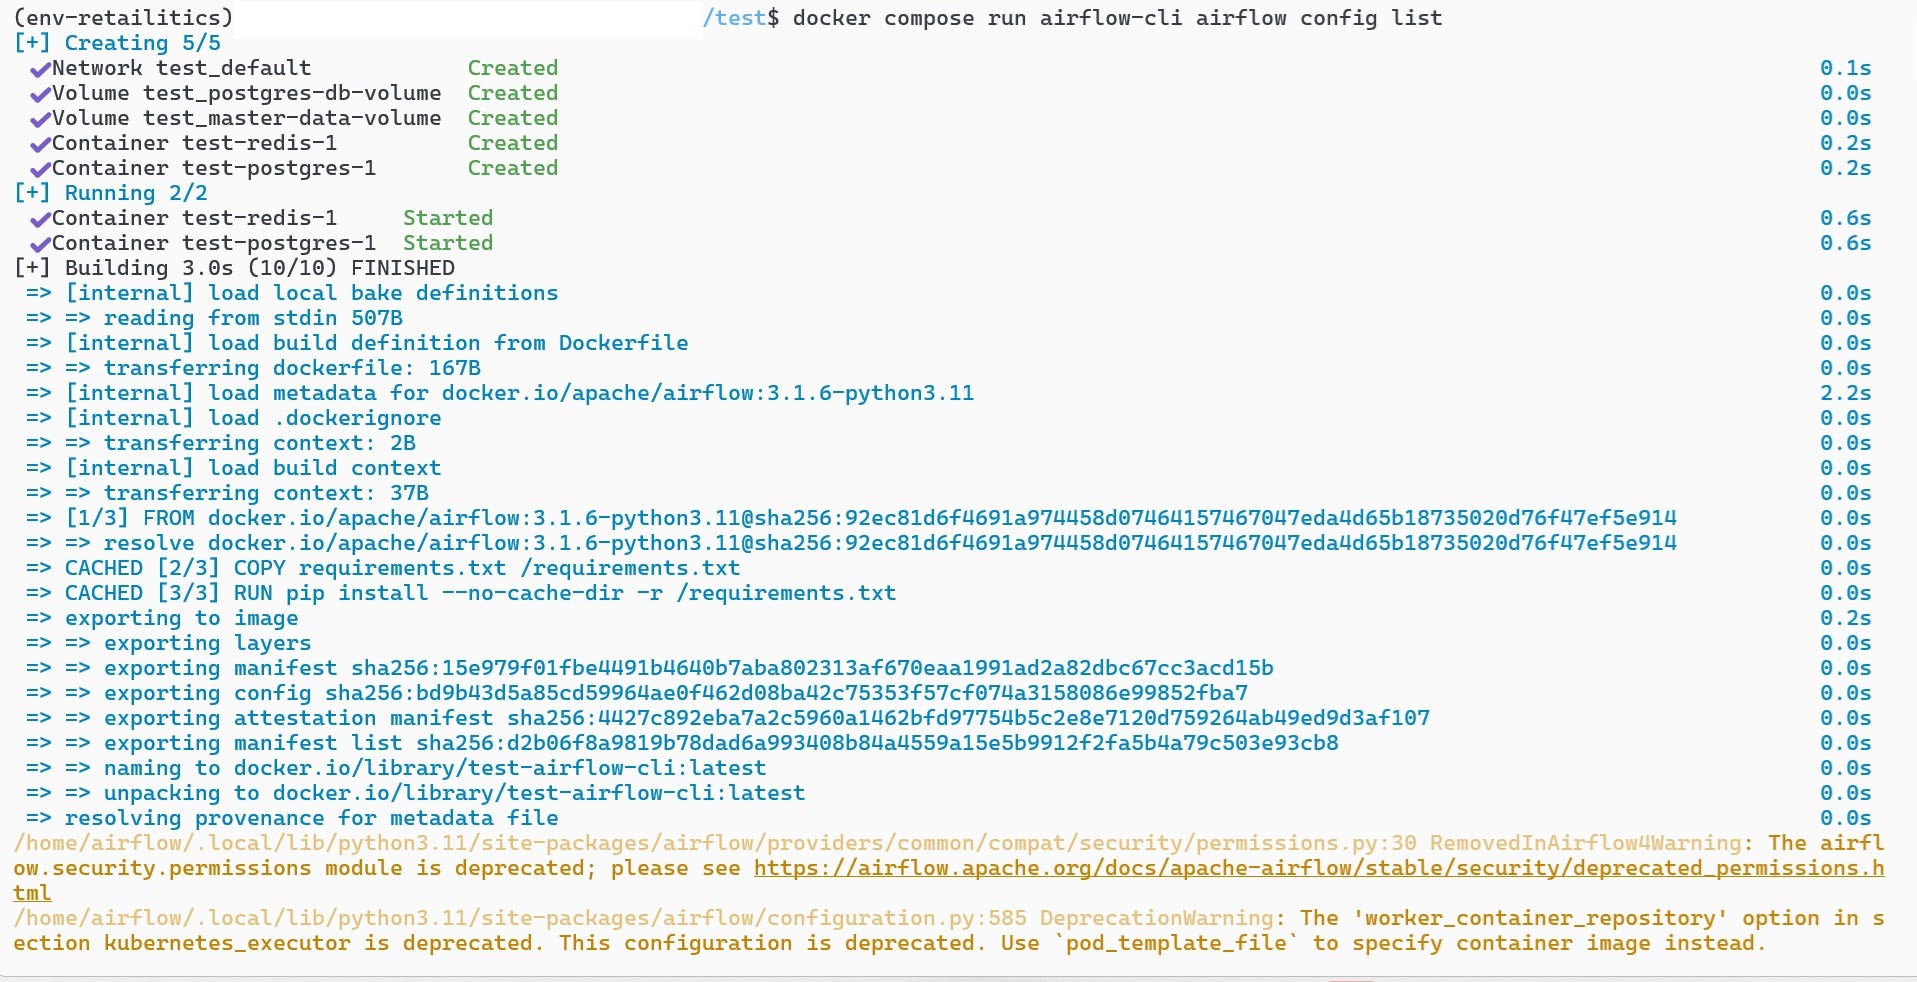
docker compose run airflow-cli airflow config list

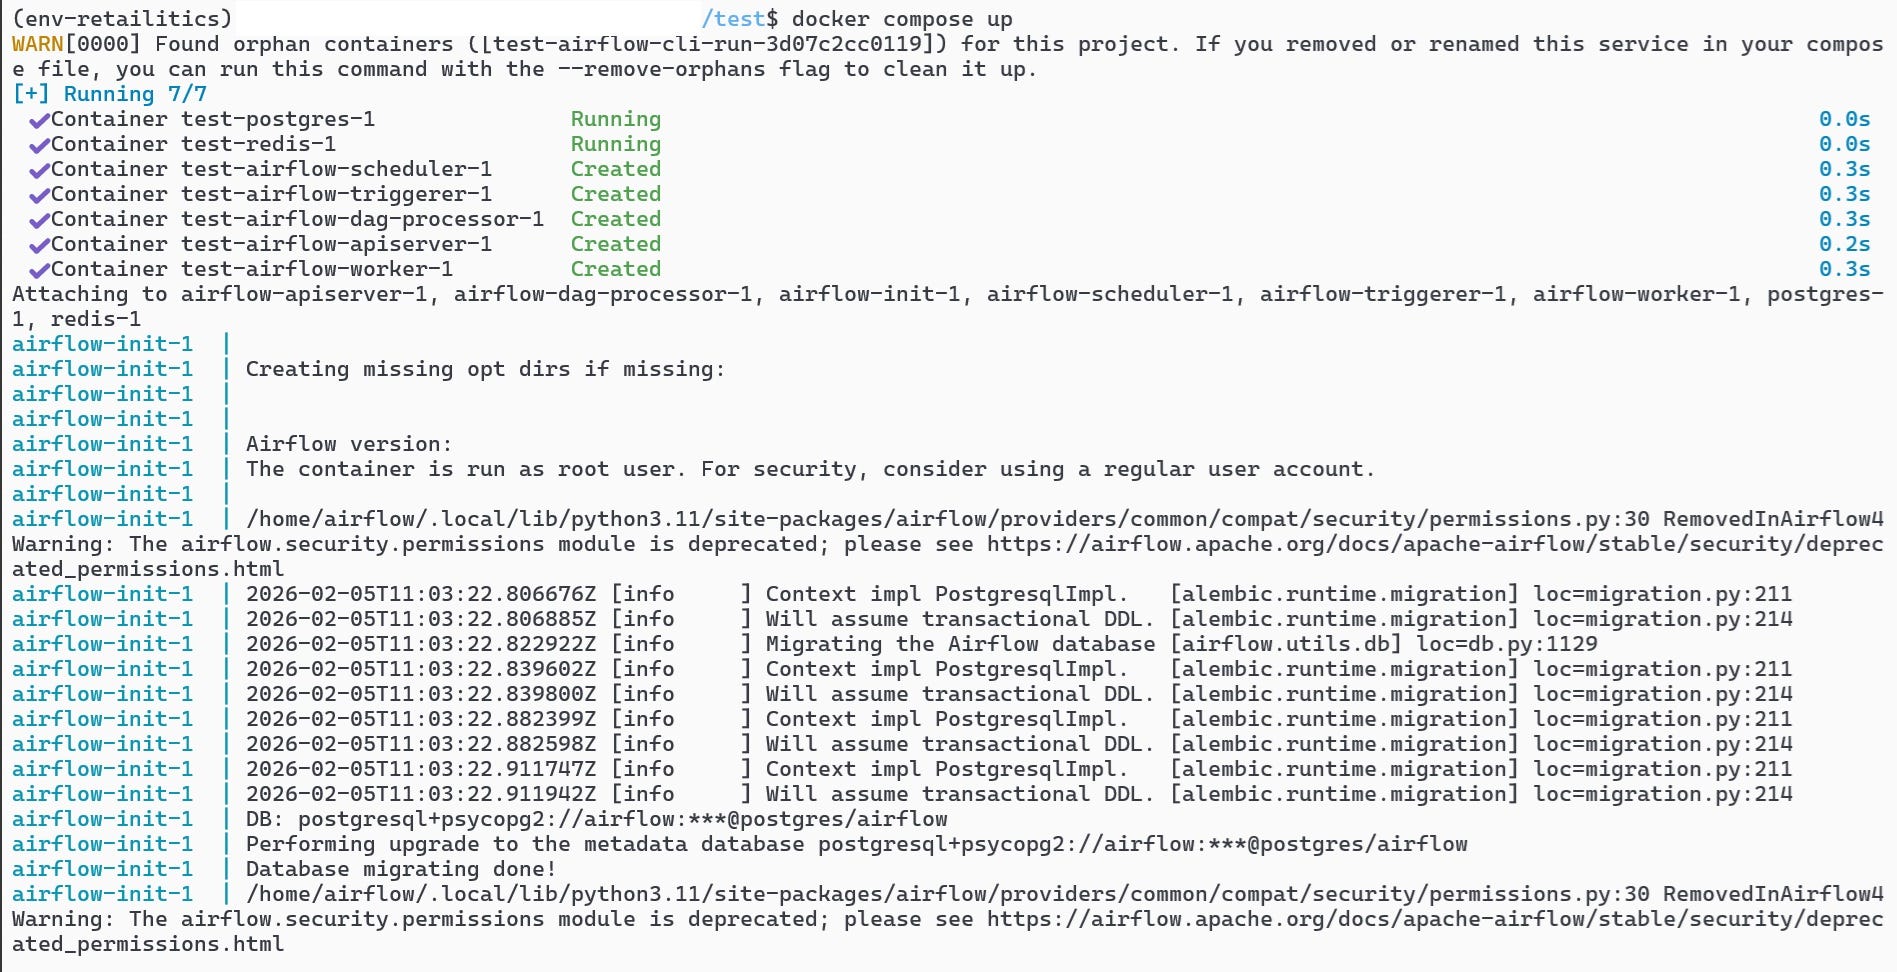
docker compose up airflow-init

docker compose up

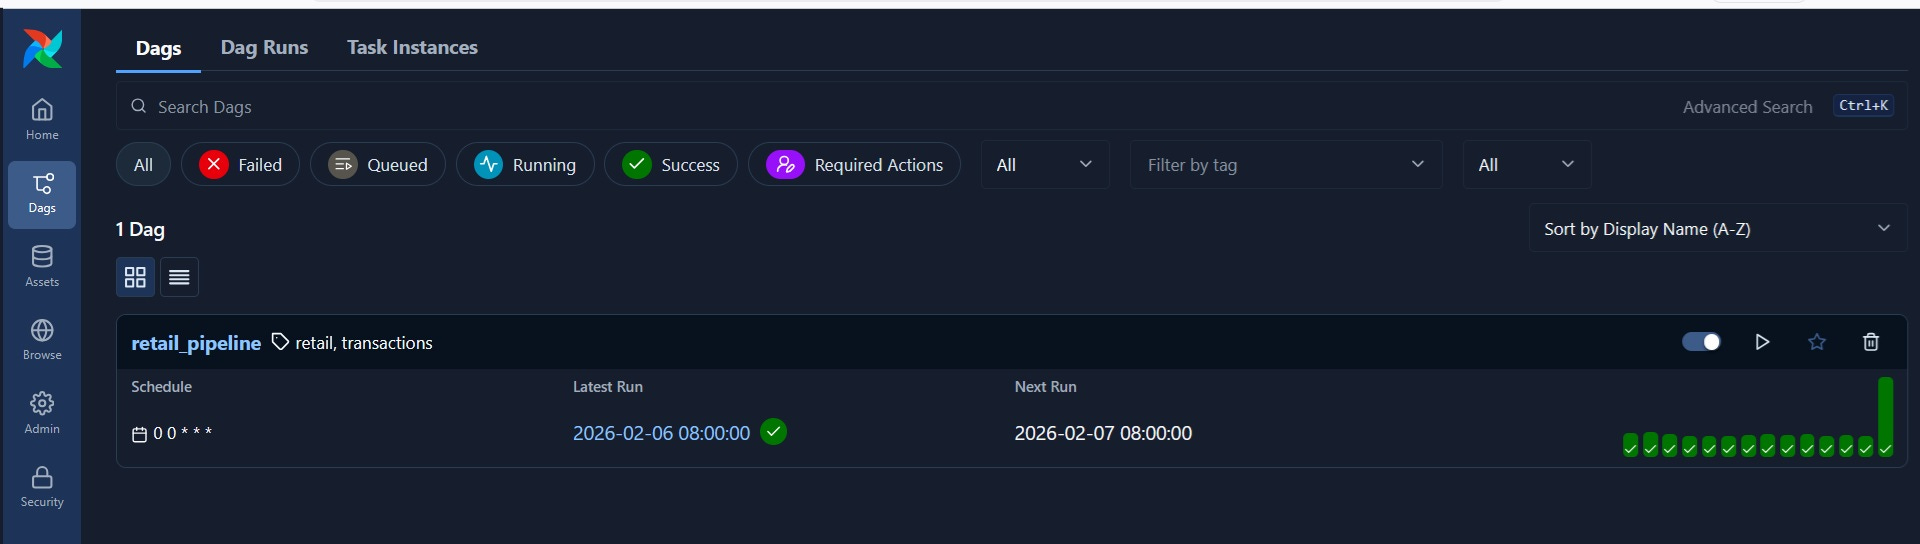
Once the containers start running, go to ‘localhost:8080/’ on your browser and you will see the below:


Now that we have set up Airflow locally in our system, we will now move ahead with creating DAG’s that would serve as functions that will process our data.
Designing the workflows
Workflows in Airflow function through separate components that works in an order that is set by us. I have mentioned DAG(Directed Acyclic Graph) which provides visual overview of the various functions of an Airflow workflow and the order in which they are executed. Since these are all python based tools, we will create a task to generate data and upload to S3 bucket.
generate_and_upload_to_s3.py
from airflow import DAG
from airflow.providers.standard.operators.python import PythonOperator
from airflow.providers.standard.operators.bash import BashOperator
from airflow.providers.amazon.aws.transfers.local_to_s3 import LocalFilesystemToS3Operator
from airflow.providers.amazon.aws.hooks.s3 import S3Hook
from airflow.exceptions import AirflowSkipException
from datetime import datetime, timedelta
from pathlib import Path
from dotenv import load_dotenv
import os

master_data_list = ["customers.parquet", "stores.parquet","products.parquet"]
s3_hook = S3Hook(aws_conn_id=os.getenv("AWS_S3_CONNECTION_ID"))
bucket_name = os.getenv("BUCKET_NAME")

def check_file_exists(ds,**context):
    file_key = f"retail_data/transactions/transactions_{ds}.parquet"
    print(f"Checking for 'transactions_{ds}.parquet' in S3")

    if s3_hook.check_for_key(key=file_key, bucket_name=bucket_name):
        raise AirflowSkipException("Data found. Skipping task")
    else:
        print("Data not found. Generating data")

def upload_master_data_to_s3(files_list,**kwargs):

    for file in files_list:
        print(f"Upload {file} to S3")

        s3_hook.load_file(
            filename=f"/opt/airflow/master_data/{file}",
            key=f"retail_data/{file}",
            bucket_name=bucket_name,
            replace=True
        )
I have defined the functions that Airflow needs to execute. Airflow has a huge library of operators which it uses to execute tasks. Here I will be using:
PythonOperator which executes python functions defined in the file
BashOperator which executes all necessary any functions to be executed in the Airflow CLI
LocalFilesystemToS3Operator which copies the from the local file system(in this case the Airflow file system) to S3 Bucket.
default_args = {
    'owner': 'Sakkaravarthi',
    'depends_on_past': False,
    'email_on_failure': False,
    'email_on_retry': False,
    'retries': 3,
    'retry_delay': timedelta(minutes=5),
}

with DAG(
    'retail_pipeline',
    default_args=default_args,
    description='Process retail data',
    schedule='@daily',
    start_date=datetime(2026, 1,1),
    max_active_runs=1,
    catchup=True,
    tags=['retail', 'transactions'],
) as dag:
The block above serves as configuration for Airflow which applies to the entire process. The ‘default_args’ here is optional, but the DAG block is the start of any Airflow workflow. It sets up the schedule, starting date, retries etc. for all the functions under the DAG.
verify_file_in_s3 = PythonOperator(
        task_id = 'verify_file_in_s3',
        python_callable = check_file_exists
    )

    generate_retail_data = BashOperator(
        task_id = 'generate_retail_data',
        trigger_rule="none_skipped",
        bash_command = 'python3 /opt/airflow/scripts/data_generator_2.py {{logical_date.year}} {{logical_date.month}} {{logical_date.day}}'
    )

    upload_master_data = PythonOperator(
        task_id = 'upload_master_data',
        python_callable = upload_master_data_to_s3,
        op_kwargs={'files_list': master_data_list}
    )

    upload_transactions_to_s3 = LocalFilesystemToS3Operator(
        task_id = 'upload_transactions_to_s3',
        trigger_rule="none_skipped",
        filename = '/tmp/retail_data/transactions/transactions_{{ds}}.parquet',
        dest_key = 's3://my-retail-2026-analytics-5805/retail_data/transactions/transactions_{{ds}}.parquet',
        aws_conn_id='aws_retailitics_s3',
        replace = False,
    )
Here tasks are defined within the DAG. Operators are assigned to execute previously defined python functions and also any bash commands to be executed within Airflow. This however does not define the order in which the tasks are to be executed.
verify_file_in_s3 >> generate_retail_data >> [upload_master_data, upload_transactions_to_s3] This is the final line determines how the DAG will operate. You can see the DAG in the Airflow UI(‘localhost:8080’)
If you click on ‘retail_pipeline’, you can see the list of workflows and run history along with the DAG graph.

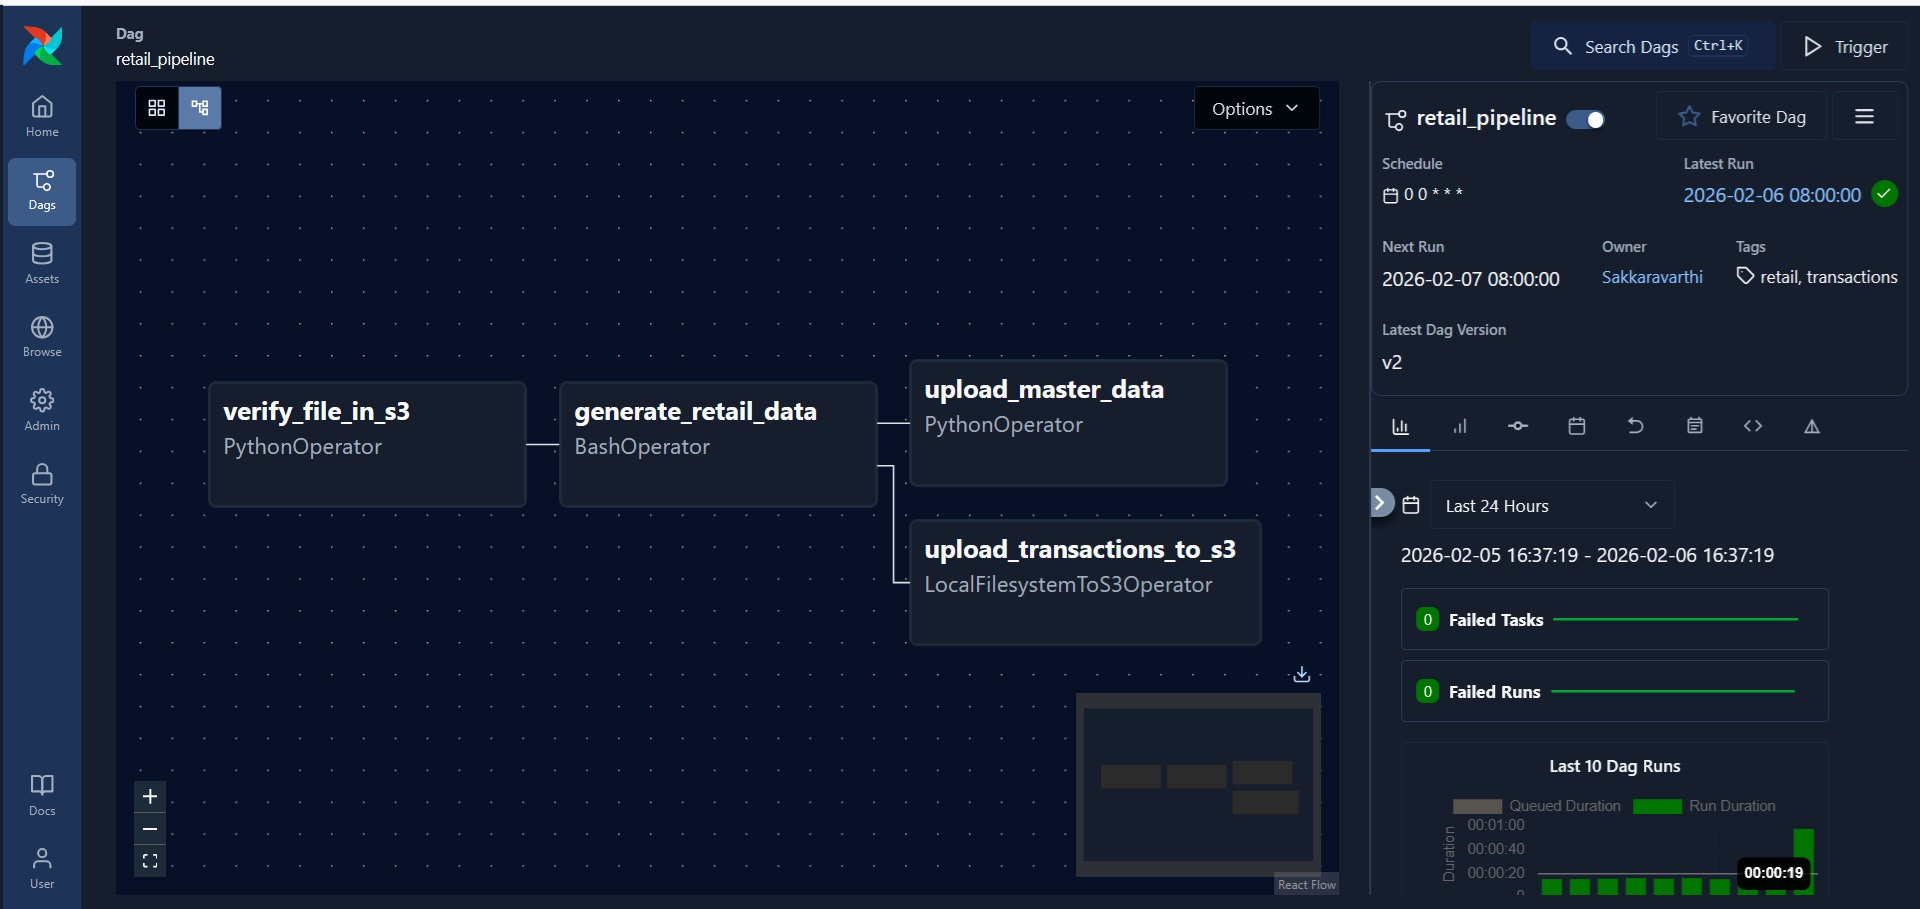
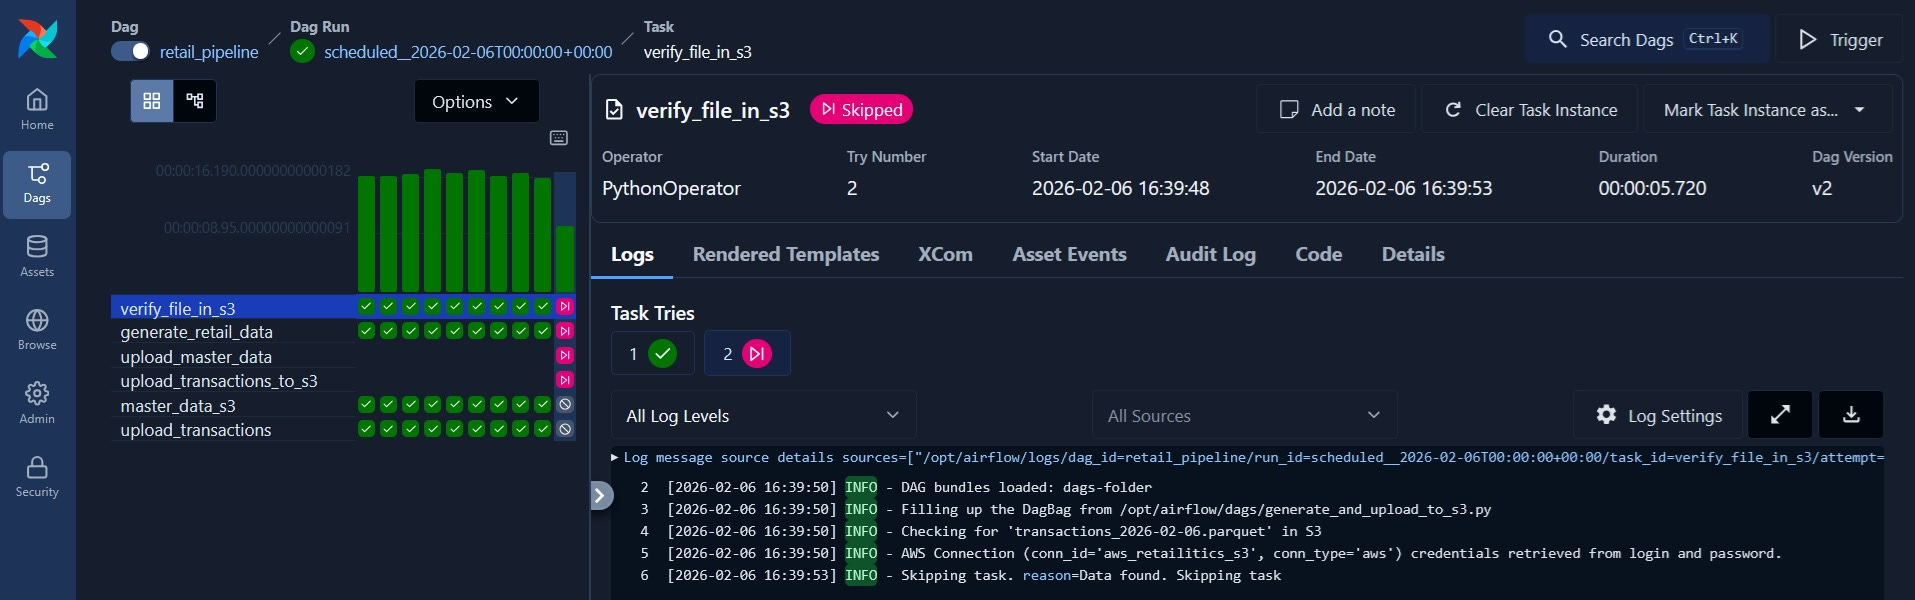
Since I have set DAG to run daily from 2026-01-01, it has successfully backfilled till date. I can ‘clear’ the run which will restart one of the runs, but will cause the run to skip because data already exists in S3.
With Airflow, a workflow has been created to generate data and upload to S3 bucket with executing each functions manually. I will be adding DBT to this in a later post.
Wrapping Up
We’ve covered the essential Airflow workflow - from defining tasks and dependencies in a DAG, running the pipeline locally, and uploading data to S3. This simple demonstration of generating retail data and pushing it to cloud storage shows the core orchestration capabilities that make Airflow a foundational tool in data engineering.
While this example focused on a basic data generation and upload workflow, the real power of Airflow lies in its ability to orchestrate complex data pipelines with built-in retry logic, comprehensive logging, monitoring, and alerting. Once deployed on cloud infrastructure, your entire pipeline runs automatically on schedule without manual intervention. As you build more data engineering projects, you’ll find yourself orchestrating multi-step ETL processes, coordinating between different data sources and warehouses, managing dependencies across teams, and handling failures gracefully - all monitored and documented through Airflow’s UI.
Next Steps
If you’re following along with your own projects, I’d recommend:
Start with simple DAGs like we did here with data generation and S3 uploads
Gradually add more tasks and dependencies as you become comfortable with the workflow
Experiment with different operators (PostgreSQL, dbt, Spark) to expand your pipeline capabilities
Explore Airflow’s monitoring and alerting features to understand when pipelines fail
Remember, the goal isn’t to become an Airflow expert overnight. The goal is to understand how orchestration tools can make your data pipelines reliable and observable. Once you’ve manually run your data workflows a few times and understand the logic, Airflow becomes the tool that automates, monitors, and scales that process efficiently.
Thank you for reading! If you found this interesting, do consider following me and subscribing to my latest articles. Catch me on LinkedIn.